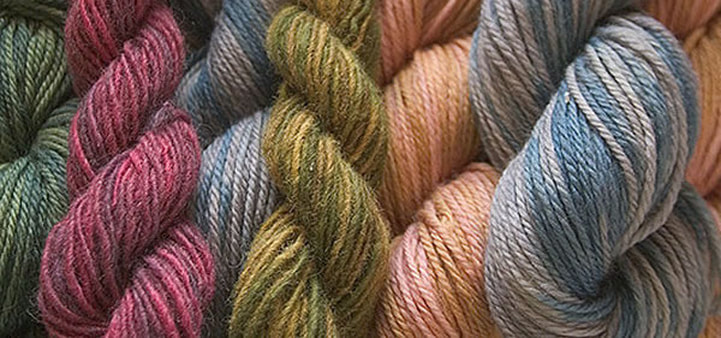
Fiber is a staple activity in the Pittsburgh Children's Museum Makeshop. From weaving to wet felting, there are infinite possibilities with fiber. When a fiber activity is present in the Makeshop, a 3-tiered bin of fabric is often available for visitors to use. Also available are fabric scissors, pins and needles, embroidery floss, thread, chalk for drawing, poly-fil or fabric scraps for stuffing, embroidery hoops, and practice sewing boards. In this post you can see the basics of sewing, embroidery, weaving and knitting. You can easily advance any of these projects for older students by encouraging a more detailed design, a multitude of colors, or a harder technique.
Sewing
| When visitors enter the Makeshop, they can see we have out sewing materials such as needles, thread, scissors, embroidery floss, and poly-fil. We keep our fabric in large spinning containers in the corner of the room. The first thing we ask the visitor is, "Have you ever sewed before?" If visitor has not, we give them a practice board (aka a peg board with yarn as thread and a plastic needle tied onto it). On this board, we show them the running stitch, often using an analogy of a dolphin diving into the ocean and coming up for air. We also might show them the whip stitch, or the back stitch. 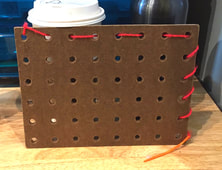 Once the visitor learns a few stitches with a practice board, we inquire what they envision for his/her project. We might suggest a pillow, purse, pocket, embroidery, or appliqué. Based on their decision the visitor will seek out fabric to fit this project. 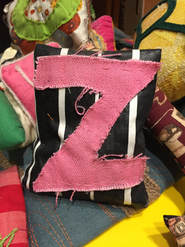 Visitors are encouraged to create a project of their choice, however, a beginner might feel the most comfortable sewing a square or rectangular pillow. Experienced visitors may be encouraged to embroider, combine embroidery and sewing, make a non-traditionally shaped pillow, or sew a shape of fabric onto a larger piece of fabric (appliqué). |  Sewing a pillow: 1. Choose your fabric. 2. Cut two pieces to the same square or rectangle shape, or fold the fabric in half. Put the desired outside patterns on the inside. 3. Put 2-3 pins in the fabric (facing the center) so the fabric will not wiggle when sewing. 4. Choose the thread color. 5. Measure the thread from hand to hand with arms spread out like an air plane and cut. 6. With the needle stabbed into the top of the spool of thread, sit eye to eye and thread the needle. 7. Fold the string in half and hold the strings together to tie a knot (or a few). 8. Bring the needle through the first corner of the fabric and sew three sides (or two if one side is folded) using either the running stitch or whip stitch. Keep one side open. 9. Flip the fabric inside-out like a sock to hide the stitches. 10. Stuff poly-fil or scrap fabric in the pillow through the open side. 11. Use a whip stitch or running stitch to close the last side! 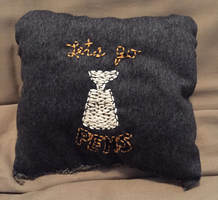 |
Embroidery
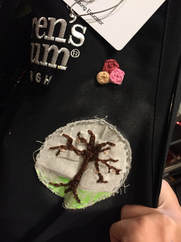
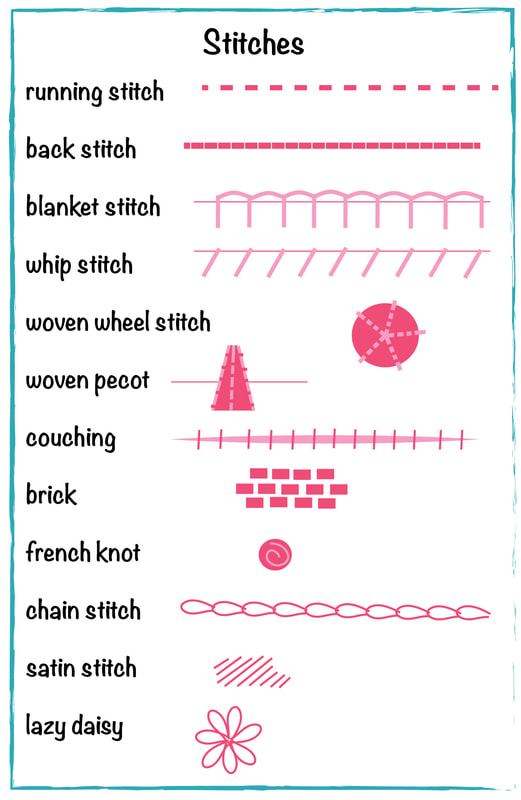 | Embroidery is sewing pictures with string. It is best to use a wooden embroidery hoop to hold your desired fabric, as well as 3 strands of embroidery floss. Once you have an idea of the image you would like to embroider, you can draw it in chalk so that it easily rubs off. The back stitch works well with embroidery because it allows you to stitch a straight, uninterrupted line. The stitches to your left are only a few of the many stitches. All can be used to create embroidered designs except for the blanket and whip stitch, which is best for sewing fabric together.
Helpful resource: http://www.rebeccaringquist.com/book/ |
Weaving
Basket Weaving:
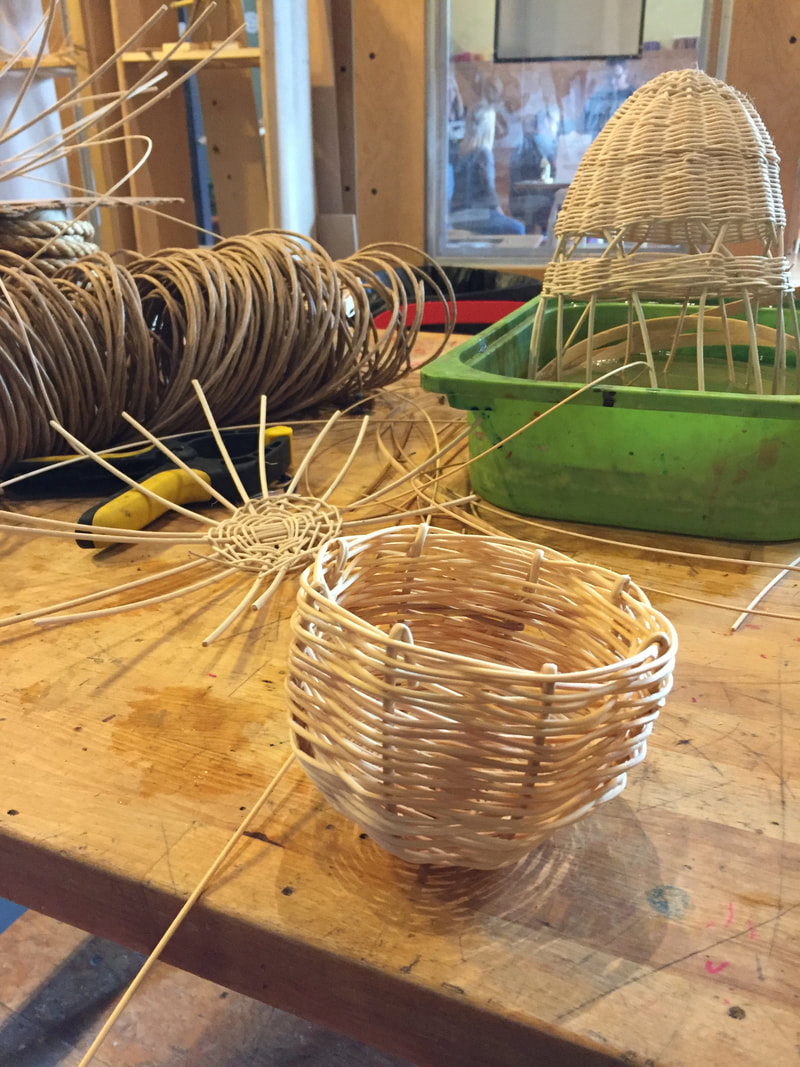
1. Begin by cutting 4 reeds to a length where half will create the height of your basket.
2. Soak these reeds, and a few more in water for about 5 minutes.
3. Orient the 4 reeds so that 2 are vertical and 2 are horizontal. This is your base. Keep the center somewhat small. (It is helpful to do this with a friend).
4. Take the next wet reed and fold it in half.
5. Hook this reed on 2 of the base reeds and twist to hook the next 2 reeds. Repeating this will weave your reed around your base reeds. After completing 2-4 rows of this, start to twist every reed rather than every 2.
 6. Once your run out of reed tuck in the ends into the weave so they are secure. 7. Get the next wet reed and continue.
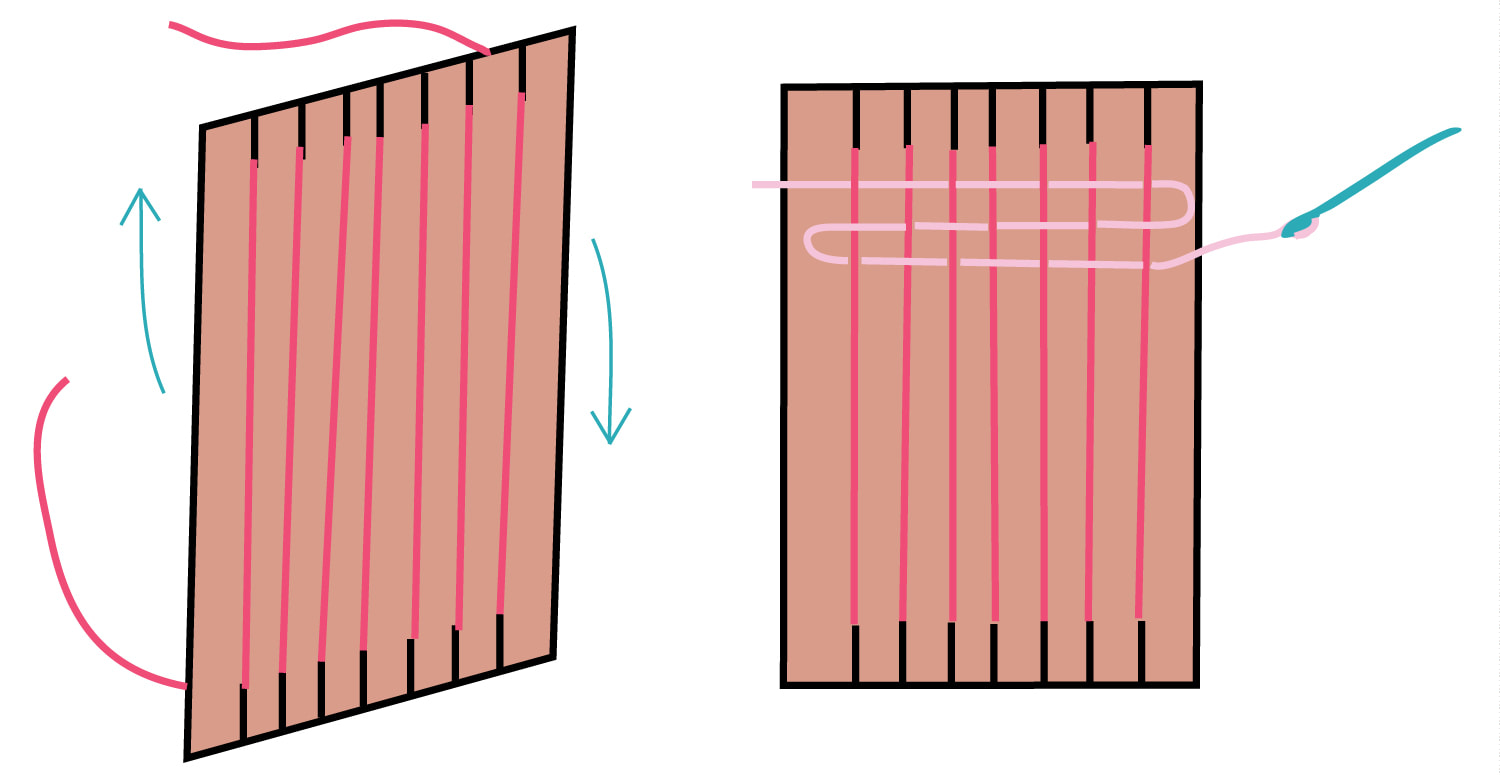 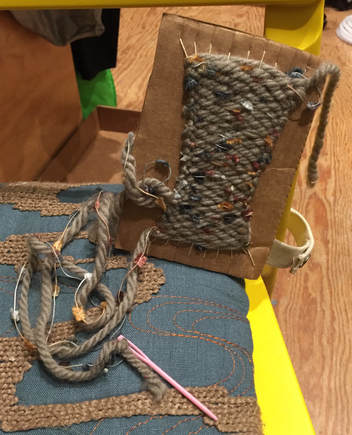 |  Cardboard Loom Weaving: 1. Cut a piece of cardboard to a small square or rectangle. 2. Cut an even number of 1 inch slits on both sides (5-10 desired). 3. Wrap thin string from top to bottom in the slits beginning with the top right and ending with the bottom left. The extra length can be tied together on the back or taped. 4. Measure yarn from hand to hand with arms spread out like an air plane and cut. You may tie a plastic needle to one end to weave. 5. Weave the yarn above and below the vertical string (warp) to create a horizontal weave (weft). Be sure to alternate the weave every row so that the yarn wraps around the outer string. 6. Push up the string so it is snug against the top. 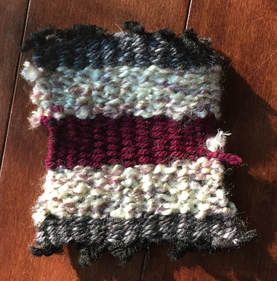 |
knitting
| Finger Knitting: 1. Use a strand of yarn attached to the bundle. Pinch the end between your non-dominant thumb and pointer finger and weave the string around each finger from pointer to pinky and back. 2. Create two rows on your fingers. 3. Pull the bottom row above the top row and behind each finger, one finger at a time. 4. Weave again once through so that you have 2 rows present and repeat step 3. 5. Repeat this until you have desired length.
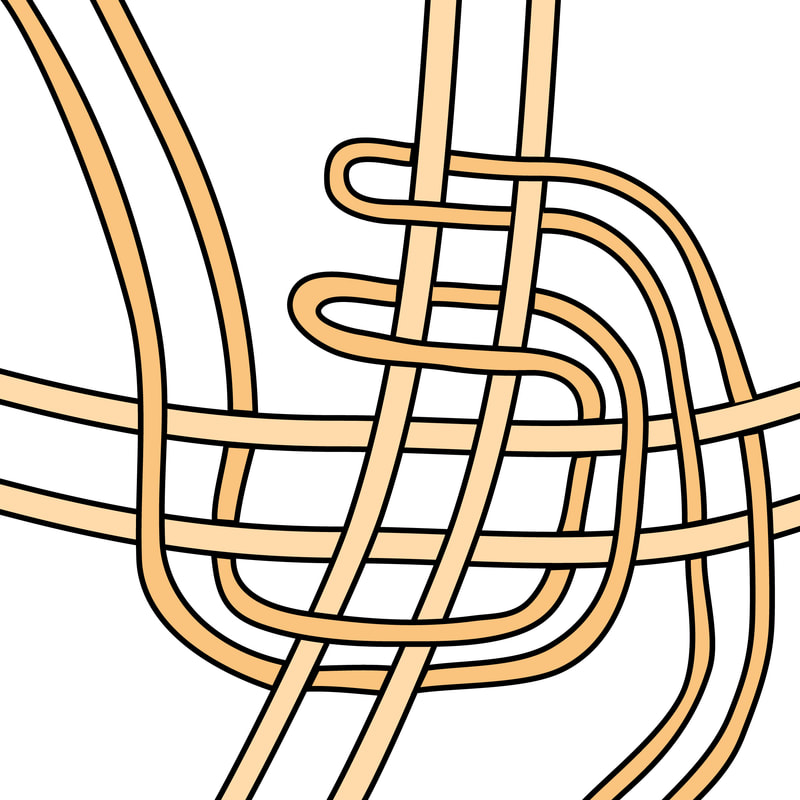
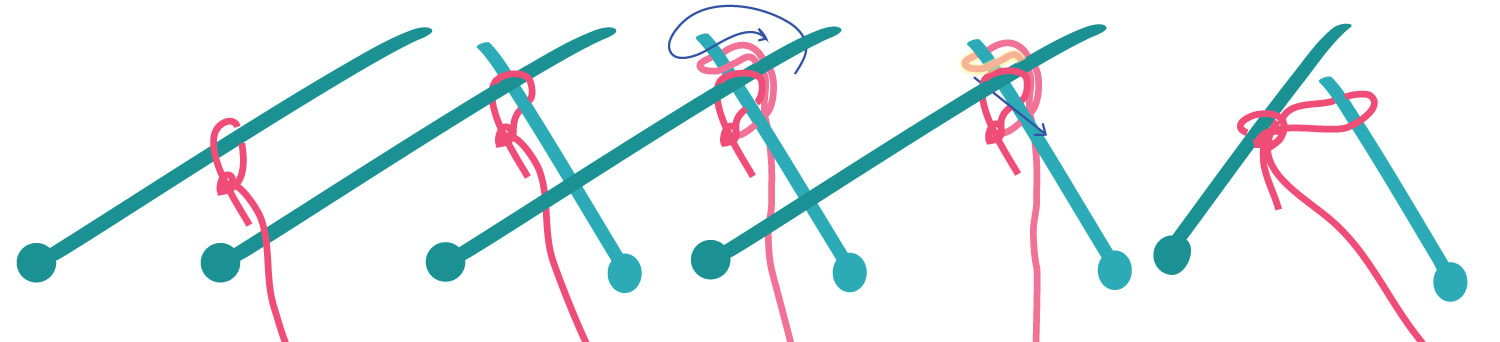
Knitting: The best way to learn how to knit is to watch Youtube videos! However, here are a few steps to understand the basics. 1. Tie a slip knot/lasso onto the left needle with the yarn ball attached. 2. Slide the right needle underneath the left through the knot. 3. Wrap the long string around the back of the 2 needles and through the middle (view image). 4. Use the right needle to pull the newly created loop through the slip knot (view image). 5. If casting on, put the new loop on the left needle. Do this as many times as you want for the length of the knit. If knitting, slide the left knot off the the left needle to create a stitch. Do this for all stitches that were casted on. 6. Exchange your right needle for your left and repeat to knit. 7. To cast off, knit two stitches and pull the first stitch over the second to have one remaining. Stitch one more and repeat until all are casted off. | 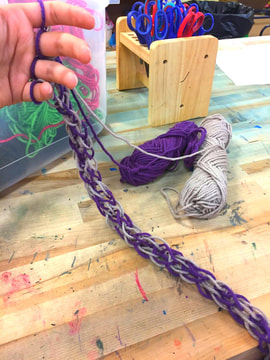 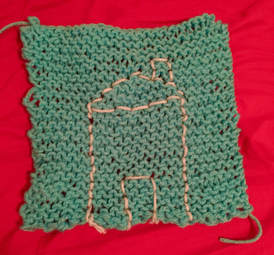 |
Loom
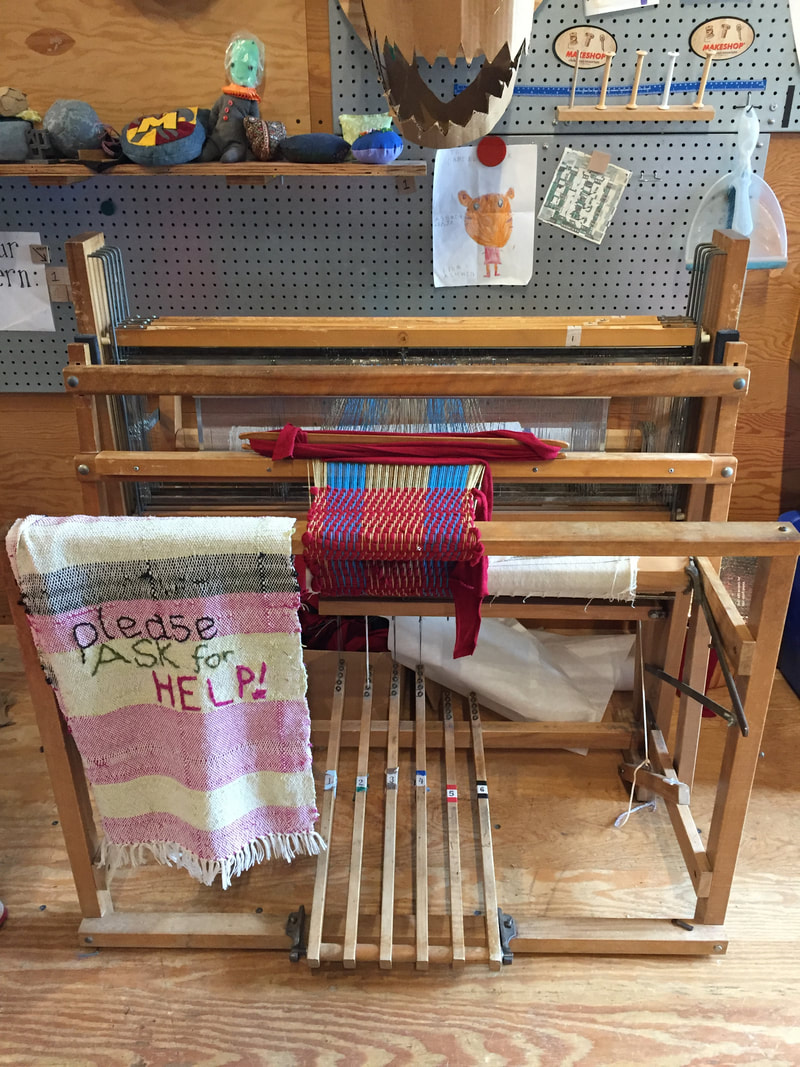 | Looms are tools that weave thread to create fabric. To set up, thread is counted, divided evenly, and tied to the back apron, which is cranked around the back beam and warp roller. Each string is then thread through a heddle and the reed. Heddles are wires with holes found on the number beams. Strings are then evenly divided again and tied to the front apron and cranked around the cloth beam and roller. Once the vertical thread is stretched (warp), thread is spun around a spool and placed in a shuttle. To weave, press a treadle (pedal) and push the shuttle through the separated thread. This creates horizontally woven thread (weft), thus weaving fabric over time. Patterns can be created from the way you string the heddles and press the corresponding treadles. 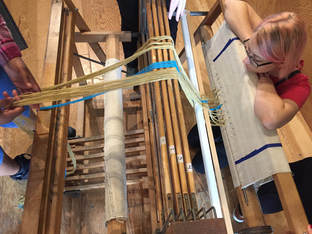 |
string
| Cardboard wheel bracelet: To create a cardboard wheel loom, first cut out a circle of cardboard. This is easily measured with a masking tape roll. Slice 8 slits evenly around the loom. Smaller slits work better. Punch a hole in the middle of the circle. Cut 7 strands of string approximately hand to hand with arms spread out. Tie the ends together and push the knot through the top of the wheel. Pull each string on top of the loom into a slit. To weave, count 3 strings clockwise from the open slit and transition the 3rd string over into the empty slit. Repeat. Pull your woven rope through the hole as the weave continues. Tie the end to finish. |  |
 RSS Feed
